There are some family recipes that don’t just live on index cards—they live in your senses. The scent of cinnamon and butter wafting from the kitchen. The sound of a fork scraping against a well-loved ceramic plate. The taste of warm, tender apples hugged by a crisp, golden crust. For so many of us, that taste memory is perfectly captured in one iconic phrase: “Mom’s flat apple pie is the best—it tastes like fried apple pie!”
This isn’t just dessert; it’s a classic homemade masterpiece that bridges the gap between a rustic fruit dessert and the irresistible, crispy-handheld charm of a fast-food fried pie. It’s the easy apple dessert that requires no fancy lattice work, yet delivers maximum flavor and that unforgettable, crispy fried pie texture we all crave.
In this deep-dive recipe guide, we’re unlocking the secrets to this family favorite. We’ll explore why this simple flat apple pie (sometimes called a skillet apple pie or apple slab pie) evokes such nostalgia, provide a step-by-step recipe with pro tips, and show you how to achieve that perfect golden, crispy crust that makes everyone say, “It tastes just like the fried one!”
Why This Recipe Feels Like a Hug: The Nostalgia Factor
Comfort food works because it connects flavor with feeling. A homemade fried apple pie from a drive-thru is a treat, but Mom’s version is an experience. It’s made with patience, served with love, and carries the imperfection of a hand-crimped crust that no factory can replicate. This easy old-fashioned dessert bypasses the fryer entirely, instead using the magic of a hot oven and butter to create a similar flaky, crispy texture that’s somehow lighter yet just as satisfying.
The “flat” style is also inherently sharable. It’s baked in a sheet pan or skillet, cut into squares, and meant to be eaten with your hands—perfect for family gatherings, potlucks, or a quick weeknight treat. It’s the ultimate make-ahead dessert and a fantastic beginner-friendly baking project because it forgoes the pressure of a perfect double-crust pie.
The Ultimate “Tastes Like Fried” Flat Apple Pie Recipe
Prep Time: 30 mins | Cook Time: 40-45 mins | Total Time: 1 hour 15 mins
Servings:12 generous squares
Skill Level:Easy
Ingredients:
For the Filling:
· 5-6 medium Granny Smith apples (about 2 lbs), peeled, cored, and thinly sliced (The tartness balances the sweetness perfectly)
· 1/2 cup (100g) light brown sugar, packed
· 1/3 cup (65g) granulated sugar
· 2 tablespoons all-purpose flour
· 2 teaspoons ground cinnamon
· 1/4 teaspoon ground nutmeg
· 1/4 teaspoon salt
· 1 tablespoon fresh lemon juice
· 1 teaspoon vanilla extract
· 2 tablespoons unsalted butter, cut into small pieces
For the Crust & Assembly:
· 2 store-bought refrigerated pie crusts (or your favorite homemade pie dough for a 9-inch double-crust pie)
· 3 tablespoons unsalted butter, melted
· 2 tablespoons coarse sugar (or granulated sugar)
· Optional for serving: Vanilla ice cream, caramel sauce, or whipped cream.
Step-by-Step Instructions:
Prepare the Apple Filling.
In a large bowl, combine the sliced apples, brown sugar, granulated sugar, flour, cinnamon, nutmeg, and salt. Toss until the apples are evenly coated. Drizzle with the lemon juice and vanilla extract, and toss again. Let this mixture sit for 15-20 minutes. This maceration draws out natural juices and creates the perfect syrupy base.
Preheat and Prep the Pan.
Preheat your oven to 375°F (190°C). Take a 13×9-inch baking sheet or a large cast-iron skillet (for an extra rustic look) and lightly grease it. Unroll one of the pie crusts and gently press it into the bottom of the pan, allowing it to go slightly up the sides. It doesn’t need to be perfect—this is a rustic pie!
Assemble the Pie.
Pour the apple filling (including all the juicy syrup) into the crust-lined pan. Dot the top of the apples evenly with the 2 tablespoons of cold butter pieces. This adds richness and helps thicken the filling.
Unroll the second pie crust and place it over the apples. You can simply lay it flat for a “flat” top, or get creative—cut it into strips for a loose lattice, or just press it down gently. Here’s the crispy secret: Tuck the edges of the top crust over and under the bottom crust lip, then crimp with your fingers or a fork to seal.
Use a sharp knife to cut 4-5 small slits in the top crust to vent steam. Brush the entire top crust generously with the melted butter, then sprinkle liberally with coarse sugar. This buttery, sugary layer is key to that golden, crispy-fried texture and flavor.
Bake to Golden-Brown Perfection.
Bake for 40-45 minutes, or until the crust is a deep, golden brown and the filling is bubbly through the vents. If the edges brown too quickly, cover them with foil strips.
The Crucial Rest & Serve.
This is the hardest but most important step! Let the pie cool in the pan for at least 1 hour before cutting. This allows the juicy filling to set, preventing a soupy mess and ensuring clean squares. Cut into rectangles, serve slightly warm or at room temperature, preferably with a scoop of vanilla ice cream melting over the top.
Pro Tips for That “Fried Pie” Texture & Flavor:
· The Butter Brush: Do not skip brushing the top crust with melted butter before baking. This is what gives it that rich, crispy, almost “fried” exterior.
· Sugar Sprinkle: The coarse sugar doesn’t just add sweetness; it creates delightful crunchy crystals on the crust.
· Apple Choice is Key: Using firm, tart apples like Granny Smith ensures they hold their shape and don’t turn to mush, providing the perfect textural contrast to the flaky crust.
· Skillet Method: For an even more authentic feel, bake it in a well-seasoned cast iron skillet. It mimics the even, high heat of a fryer and makes for a stunning presentation.
Customize Your Family’s Favorite Version
This recipe is a perfect canvas. Make it your own with these easy recipe variations:
· Add Ins: Toss in 1/2 cup of chopped pecans or walnuts with the filling. A handful of dried cranberries or raisins adds a chewy surprise.
· Spice It Up: Add a pinch of cardamom or allspice to the filling.
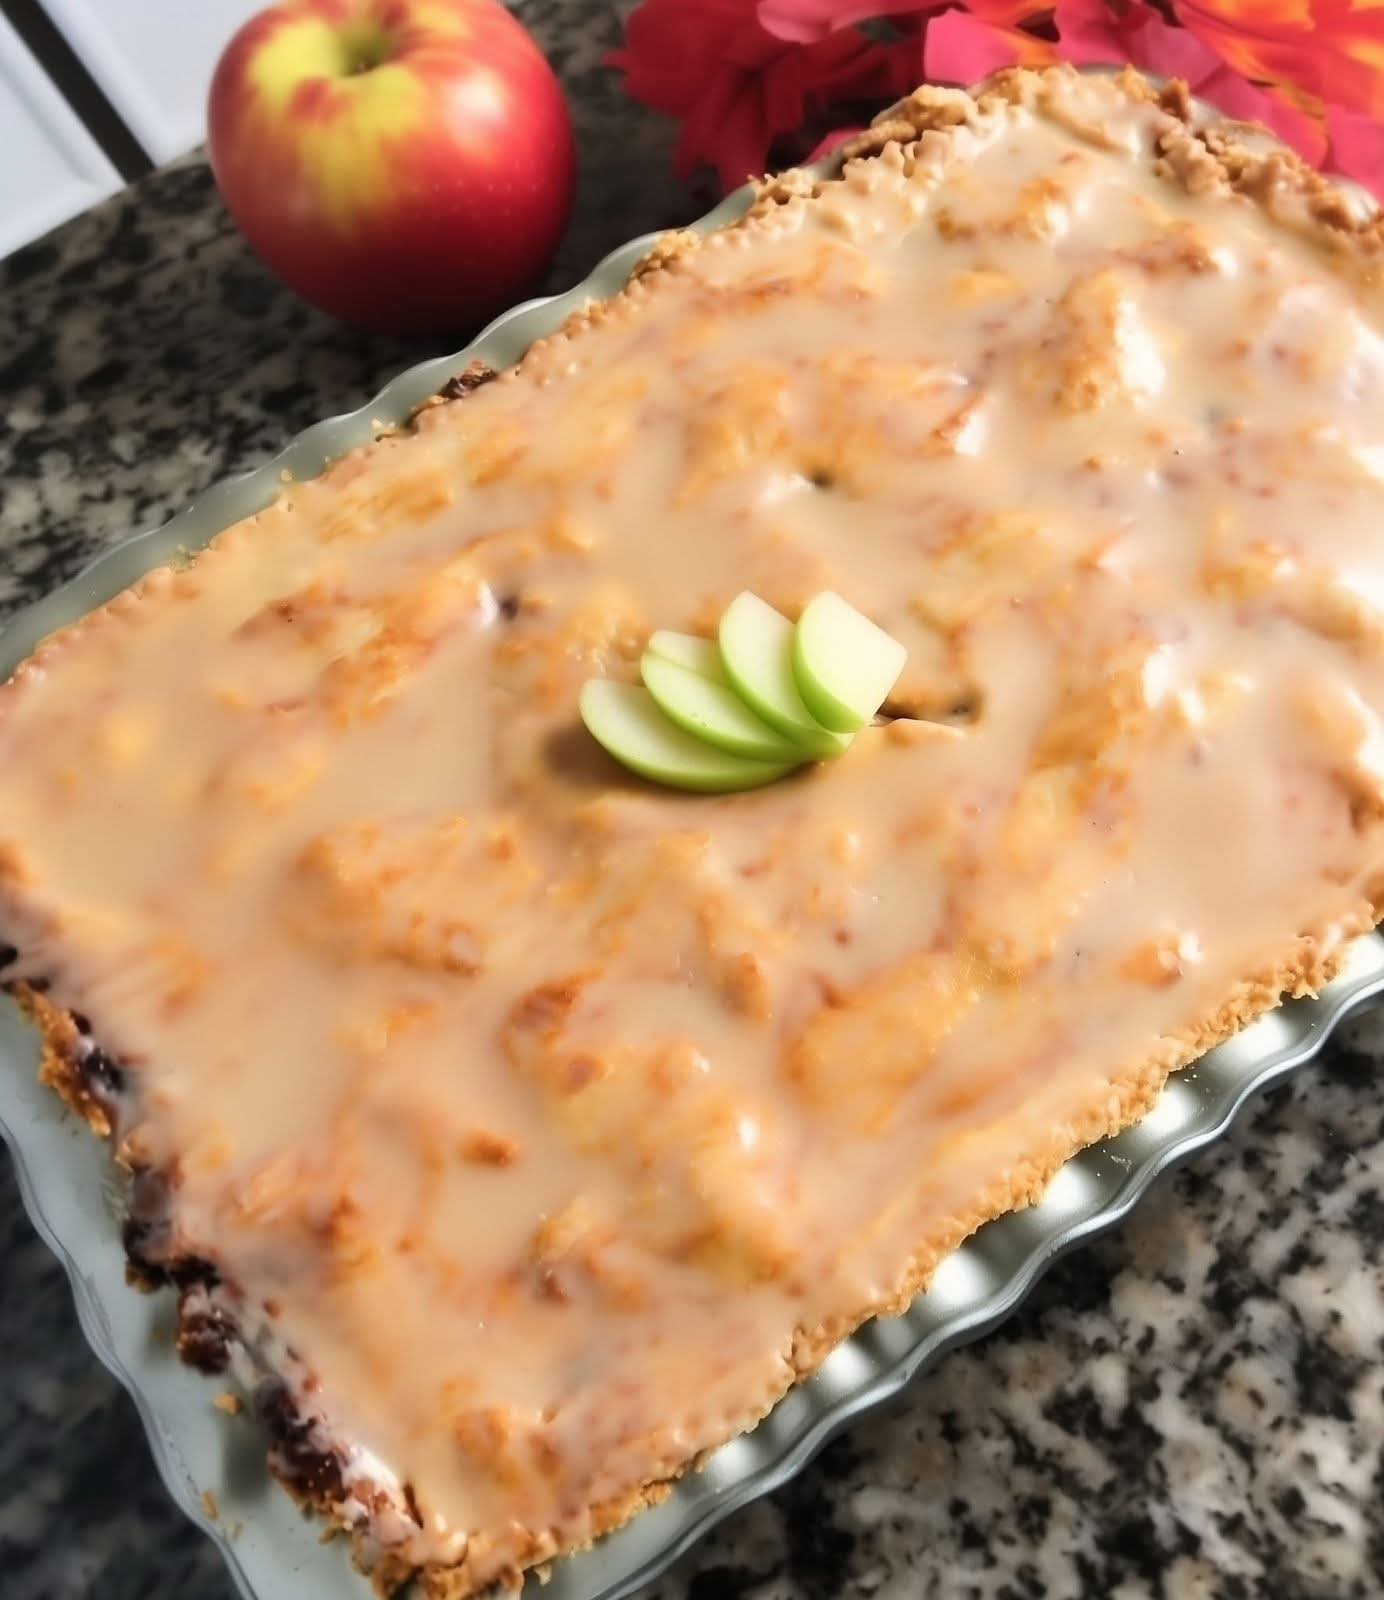
· Glaze It: Whisk together 1/2 cup powdered sugar with 1-2 tablespoons of milk or apple cider for a simple drizzle on the cooled pie.
· Cheddar Crust: For a classic sweet-and-salty twist, sprinkle 1/4 cup of finely shredded sharp cheddar cheese over the bottom crust before adding the apples.
FAQs: Making Your Best Pie Ever
Q: Can I make this ahead of time?
A:Absolutely! It’s a great make-ahead dessert. Assemble the pie, cover tightly, and refrigerate overnight. Bake directly from the fridge, adding 5-10 minutes to the bake time. You can also freeze the unbaked pie for up to 3 months; bake from frozen, covered with foil for the first 30 minutes.
Q: How do I store leftovers?
A:Keep leftover squares in an airtight container at room temperature for 2 days or in the refrigerator for up to 4 days. Reheat in a toaster oven or air fryer for a few minutes to restore the crispy crust.
Q: My filling is too runny. What happened?
A:The most common culprits are not using a thickener (like the flour in this recipe) and not letting the pie cool fully before cutting. The filling continues to thicken as it cools.
Q: Can I use pre-made apple pie filling?
A:You can, but for the true homemade taste, the fresh apple filling is worth it. If using canned, choose a quality brand and omit the sugar and spices from the recipe.
The Final Slice: More Than Just Pie
At its heart, this recipe is about tradition. It’s about recreating that magical taste that reminds you of home, of Mom, and of simple, joyful indulgences. It proves that you don’t need a deep fryer to achieve that crave-worthy combination of a flaky, crispy crust and a sweet, spiced apple filling.
So, roll out that crust, slice those apples, and fill your kitchen with that unmistakable aroma. Bake this legendary flat apple pie, share it with people you love, and listen for the ultimate compliment: “Wow… it tastes just like a fried apple pie!” Only better, because it’s made by you.
More Recipes You Might Like
-

Cheesy Potato Patties 😋 – Crispy, Golden, and Irresistibly Cheesy If you’re looking for a high-RPM comfort food recipe that gets clicks, saves, and repeat cooks, Cheesy Potato Patties are a guaranteed winner. Crispy on the outside, soft and fluffy on the inside, and loaded with melty cheese—this recipe checks every box readers love: easy…
-

Brown Sugar Pineapple Ham Bake 😋 – The Ultimate Sweet & Savory Comfort Dish If you’re searching for a high-RPM, comfort-food recipe that people love clicking, saving, and cooking again and again, this Brown Sugar Pineapple Ham Bake is it. Sweet, sticky brown sugar. Juicy pineapple. Tender, savory ham. Baked together into one irresistible dish…
-

Angel Chicken Pasta – The Creamy Comfort Food That Everyone Loves
Few dishes feel as comforting, indulgent, and crowd-pleasing as Angel Chicken Pasta. This creamy, slow-cooked chicken pasta recipe has earned its name because it’s truly heavenly—rich, velvety sauce, tender chicken, and perfectly cooked pasta all coming together in one unforgettable meal. Angel Chicken Pasta is one of those recipes that never goes out of style.…