Is there anything more iconically delightful than the sweet-tart burst of cherry pie filling wrapped in a buttery, flaky crust? Now, imagine all that joy in a single, irresistible, pop-in-your-mouth bite. That’s the magic of Cherry Pie Bites—the simple, no-fuss dessert that delivers all the nostalgic flavor of a homemade pie without the rolling, crimping, or hours of commitment.
Perfect for last-minute parties, holiday platters, lunchbox treats, or a quick sweet craving, these bites are a game-changing dessert hack. Using just three ingredients (or a few more for gourmet upgrades), they transform into golden, flaky pockets of gooey cherry goodness that disappear faster than you can make them. They are the ultimate crowd-pleasing dessert, beloved by kids and adults alike.
Whether you call them mini cherry pies, hand pies, or pastry bites, this recipe is your ticket to effortless dessert hero status. We’ll walk through the foolproof method, explore delicious variations, and share pro tips for the perfect flaky, non-soggy bite every time. Get ready to make the easiest, most addictive dessert of the season.
The Allure of the Bite-Sized Treat: Why These Work Every Time
Before we preheat the oven, let’s appreciate the genius of the mini dessert.
The Perfect Ratio: Every bite guarantees the ideal balance of flaky crust to luscious filling. No uneven slices, no running out of filling.
Built-In Portion Control:They’re perfectly snackable, allowing everyone to enjoy a little taste of pie without commitment. This makes them ideal for potlucks, baby showers, and office parties.
Maximum Ease, Minimum Mess:This recipe leverages the ultimate kitchen shortcut—pre-made dough—for a from-scratch taste with stunning simplicity. It’s a beginner-friendly baking recipe that feels gourmet.
Endless Customization:The basic formula is a canvas. Swap the filling, add a glaze, sprinkle with sugar—the possibilities are endless for creating your own signature bite.
Gathering Your Ingredients: A Short & Sweet List
The beauty lies in simplicity. Here’s what you need for the classic version.
The Core Trio:
· 2 cans (8 oz each) refrigerated crescent roll dough or 1 package puff pastry sheets: Crescent dough is soft and slightly sweet; puff pastry is elegantly flaky and buttery. Both are excellent.
· 1 can (21 oz) cherry pie filling: Look for a quality brand with plenty of cherries. You can also use homemade!
· 1 large egg (for egg wash): For that gorgeous, shiny golden-brown top.
· Coarse sugar (like sanding sugar or turbinado), for sprinkling: Adds a delightful crunch and sparkle.
Optional Flavor Enhancers (Highly Recommended):
· 1/2 teaspoon almond extract or vanilla extract: Mixed into the pie filling, this adds incredible depth.
· 1 tablespoon lemon juice: Brightens the cherry flavor.
· For Icing: 1/2 cup powdered sugar + 1-2 tablespoons milk or cream + 1/4 tsp vanilla.
High-RPM Keyword Integration: “This is the ultimate easy dessert recipe for last-minute parties and holiday baking. As a 3-ingredient dessert, it’s perfect for beginner bakers and a guaranteed crowd-pleasing treat for any potluck or shower. Kids love these fun finger foods, and they’re ideal for meal prep snacks.”
Dietary Modification Spotlight:
· Gluten-Free: Use a certified gluten-free pie filling and gluten-free puff pastry or pie dough.
· Vegan: Use plant-based puff pastry (check ingredients), a vegan cherry pie filling (or make your own with cornstarch), and a brush of plant-based milk instead of egg wash.
· Lower-Sugar: Use a no-sugar-added cherry pie filling or a homemade filling with less sugar, and omit the coarse sugar topping.
Essential Kitchen Tools You’ll Need
· Baking Sheet: Lined with parchment paper for easy cleanup and preventing sticking.
· Rolling Pin (optional): For slightly thinning the dough if needed.
· Pizza Cutter, Sharp Knife, or Fluted Pastry Wheel: For cutting the dough.
· Small Bowl & Fork: For the egg wash.
· Pastry Brush: For applying the egg wash.
· Spoon or Small Cookie Scoop: For portioning the filling.
· Fork or Your Fingers: For sealing the edges.
Step-by-Step Instructions: Foolproof Cherry Pie Bites
Prep Time: 15 mins | Cook Time: 10-12 mins | Total Time: 30 mins | Servings: 16-24 bites
Step 1: Prepare Dough & Filling
Preheat your oven to375°F (190°C). Line a baking sheet with parchment paper. Unroll your crescent dough sheets (if using cans, press the seams together to form a solid sheet). Optionally, roll it slightly thinner for more bites. If using puff pastry, unfold it.
In a bowl,stir the cherry pie filling with almond or vanilla extract and lemon juice, if using. This enhances the flavor dramatically.
Step 2: Cut & Fill
Using your pizza cutter or knife,cut the dough into equal squares (about 2×2 inches for crescent dough, slightly larger for puff pastry). You should get 16-24 squares.
Place a small,heaping teaspoon of cherry pie filling in the center of each square. Do not overfill! This is the key to preventing leaks.
Step 3: Seal the Bites
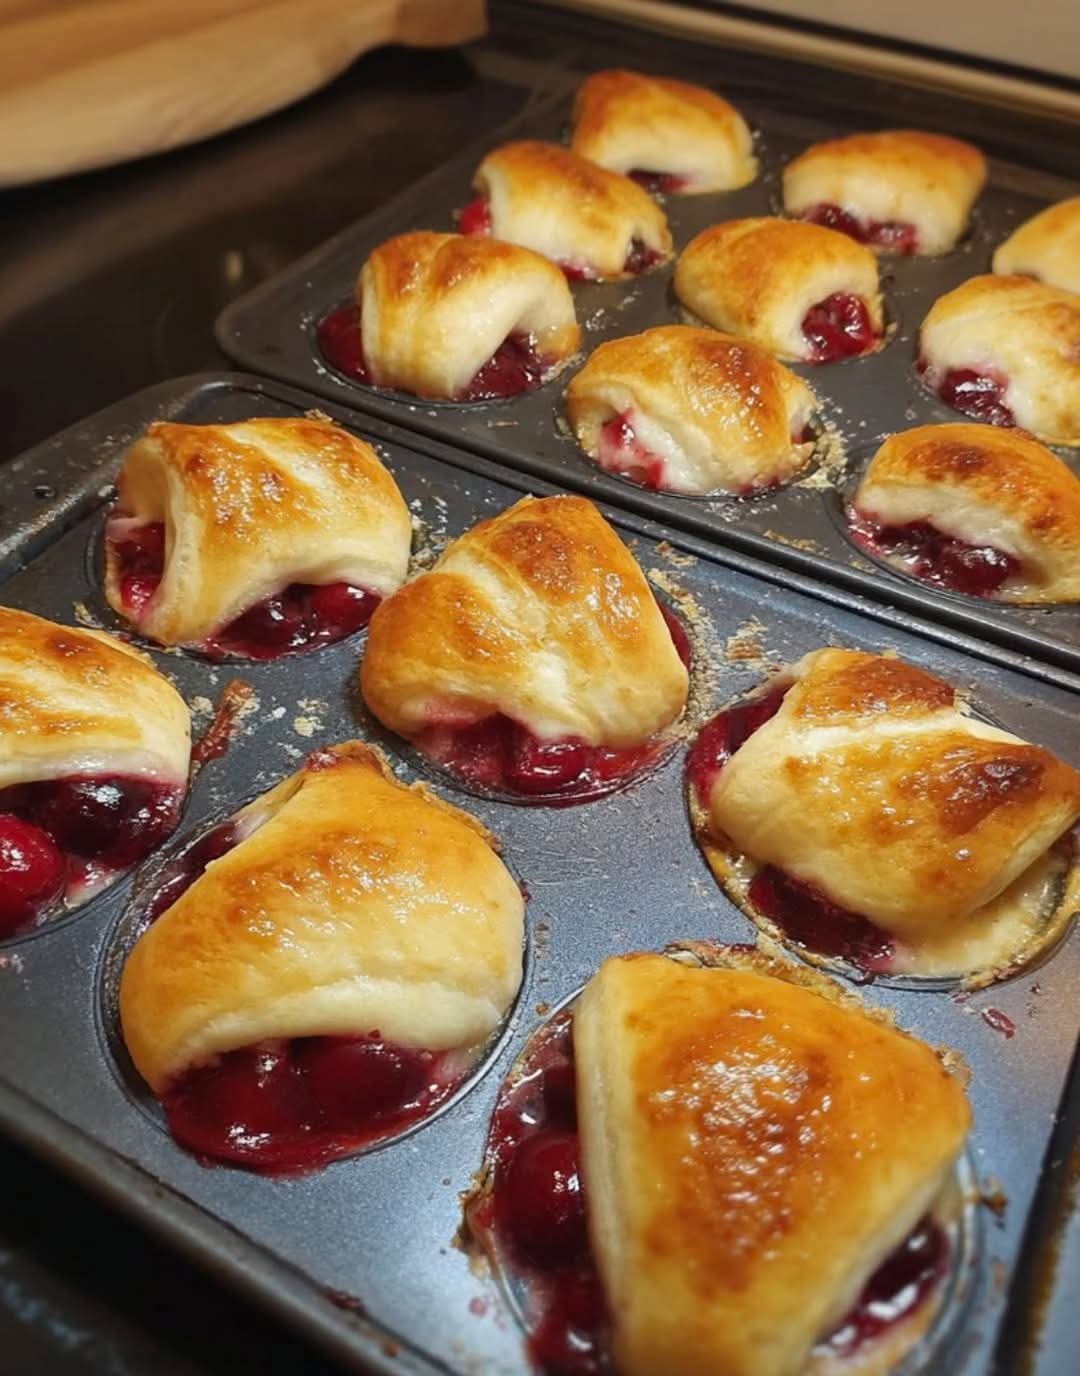
Fold the dough over the filling to create a triangle(if using a square, fold corner to corner). Press the edges firmly with a fork to seal completely. This step is crucial for keeping the juicy filling inside. Alternatively, you can place a second dough square on top and seal the edges for a more ravioli-like look.
Step 4: Egg Wash & Sugar
Place the sealed bites on the prepared baking sheet,about 1 inch apart. In a small bowl, beat the egg with a tablespoon of water to create an egg wash. Lightly brush the top of each bite with the wash. This gives them a beautiful glossy, golden finish. Generously sprinkle with coarse sugar.
Step 5: Bake to Golden Perfection
Bake for10-12 minutes, or until the bites are puffed and a deep, golden brown. The filling may be bubbly around the seals.
Step 6: Cool & Drizzle
Let the bites cool on the baking sheet for 5 minutes before transferring to a wire rack.They will be molten-hot inside! If using an optional icing, whisk the powdered sugar, milk, and vanilla until smooth. Drizzle over the slightly warm bites using a spoon or a piping bag.
Pro Chef Tips & Common Mistakes to Avoid
· Seal, Seal, Seal: Press the edges with a fork until you can see clear indentations. A poor seal guarantees a messy leak.
· The Filling is Hot Lava: Let them cool for a full 5-10 minutes before serving. The filling retains heat much longer than the crust.
· Don’t Skip the Egg Wash: It’s the difference between pale dough and a professional, golden-brown finish.
· Thicken Your Filling: If your pie filling seems very runny, drain a little syrup or toss it with an extra teaspoon of cornstarch before using.
· Common Mistake: Overfilling. One teaspoon is usually plenty. More seems better but leads to explosions.
· Puff Pastry Pro-Tip: Keep it cold until the moment you work with it for the flakiest results.
Creative Twists & Flavor Variations
The formula is your playground:
Apple Pie Bites: Use apple pie filling and a sprinkle of cinnamon sugar on top.
Mixed Berry Bliss: Use blueberry, strawberry, or mixed berry pie filling.
Cream Cheese Surprise: Place a tiny cube of cold cream cheese underneath the cherry filling.
Chocolate Cherry: Add a few mini chocolate chips to each bite before sealing.
Lemon Glaze: Swap the vanilla icing for a lemon glaze (lemon juice + powdered sugar) for a bright, tangy finish.
Savory-Sweet: Add a tiny piece of brie cheese with the cherry for a gourmet appetizer.
Serving Suggestions & Pairing Ideas
· The Classic: Serve warm with a scoop of vanilla ice cream or a dollop of whipped cream.
· Dessert Platter: Arrange on a platter with other mini desserts (like brownie bites) for a stunning party spread.
· Holiday Presentation: Add a festive touch with red and green sprinkles or drizzle with white chocolate.
· Coffee Break: These are perfect with a cup of coffee or tea for an afternoon pick-me-up.
· Gift Giving: Package a few in a cellophane bag tied with ribbon for a sweet homemade gift.
Storing, Freezing, and Reheating Instructions
· Storing: Store cooled bites in an airtight container at room temperature for 1 day or in the refrigerator for up to 3 days.
· Freezing (Unbaked): Assemble bites, place them on a parchment-lined sheet, and freeze solid. Then transfer to a freezer bag. Bake from frozen, adding 2-3 minutes to the bake time.
· Freezing (Baked): Freeze baked, cooled bites in a single layer before bagging. Thaw and reheat.
· Reheating: Warm in a 350°F oven or toaster oven for 5-8 minutes to restore crispness. The microwave will make them soft.
Frequently Asked Questions (FAQ)
Q: Can I use homemade pie dough?
A: Absolutely!Use your favorite recipe. Roll it thin, cut into rounds or squares, fill, seal, and bake at 375°F until golden.
Q: My filling leaked everywhere. What happened?
A:Likely overfilling or an incomplete seal. Ensure edges are clean and dry before pressing, and don’t be greedy with the filling.
Q: Can I make these ahead of time?
A: Yes!Assemble unbaked bites, cover tightly, and refrigerate for up to 24 hours. Bake as directed. You can also freeze them (see above).
Q: What’s the best way to seal them?
A:A fork is classic and effective. For a tighter seal, you can also use your fingers to crimp, or use a little water on the edges before pressing.
Q: Can I use other canned fillings?
A: 100%.Peach, apple, blueberry—any thick pie filling will work beautifully.
Conclusion: The Little Bite That Brings Big Joy
Cherry Pie Bites prove that immense flavor and happiness can come in the smallest, simplest packages. They bridge the gap between everyday ease and special occasion treat, making it possible to serve the comfort of homemade pie any day of the week.
This recipe is an invitation to play, to share, and to savor the little moments of sweetness. They are a testament to the fact that the best desserts often come without stress, fanfare, or a sink full of dishes.
Now, I’d love to hear from you: What’s your favorite pie filling for a bite-sized treat? Did you try a fun variation or have a genius sealing tip? Share your creations and ideas in the comments below! And if this recipe brings a little spark of joy to your kitchen, please share it with a friend and pin it for your next celebration.
More Recipes You Might Like
-

Cheesy Potato Patties 😋 – Crispy, Golden, and Irresistibly Cheesy If you’re looking for a high-RPM comfort food recipe that gets clicks, saves, and repeat cooks, Cheesy Potato Patties are a guaranteed winner. Crispy on the outside, soft and fluffy on the inside, and loaded with melty cheese—this recipe checks every box readers love: easy…
-

Brown Sugar Pineapple Ham Bake 😋 – The Ultimate Sweet & Savory Comfort Dish If you’re searching for a high-RPM, comfort-food recipe that people love clicking, saving, and cooking again and again, this Brown Sugar Pineapple Ham Bake is it. Sweet, sticky brown sugar. Juicy pineapple. Tender, savory ham. Baked together into one irresistible dish…
-

Angel Chicken Pasta – The Creamy Comfort Food That Everyone Loves
Few dishes feel as comforting, indulgent, and crowd-pleasing as Angel Chicken Pasta. This creamy, slow-cooked chicken pasta recipe has earned its name because it’s truly heavenly—rich, velvety sauce, tender chicken, and perfectly cooked pasta all coming together in one unforgettable meal. Angel Chicken Pasta is one of those recipes that never goes out of style.…