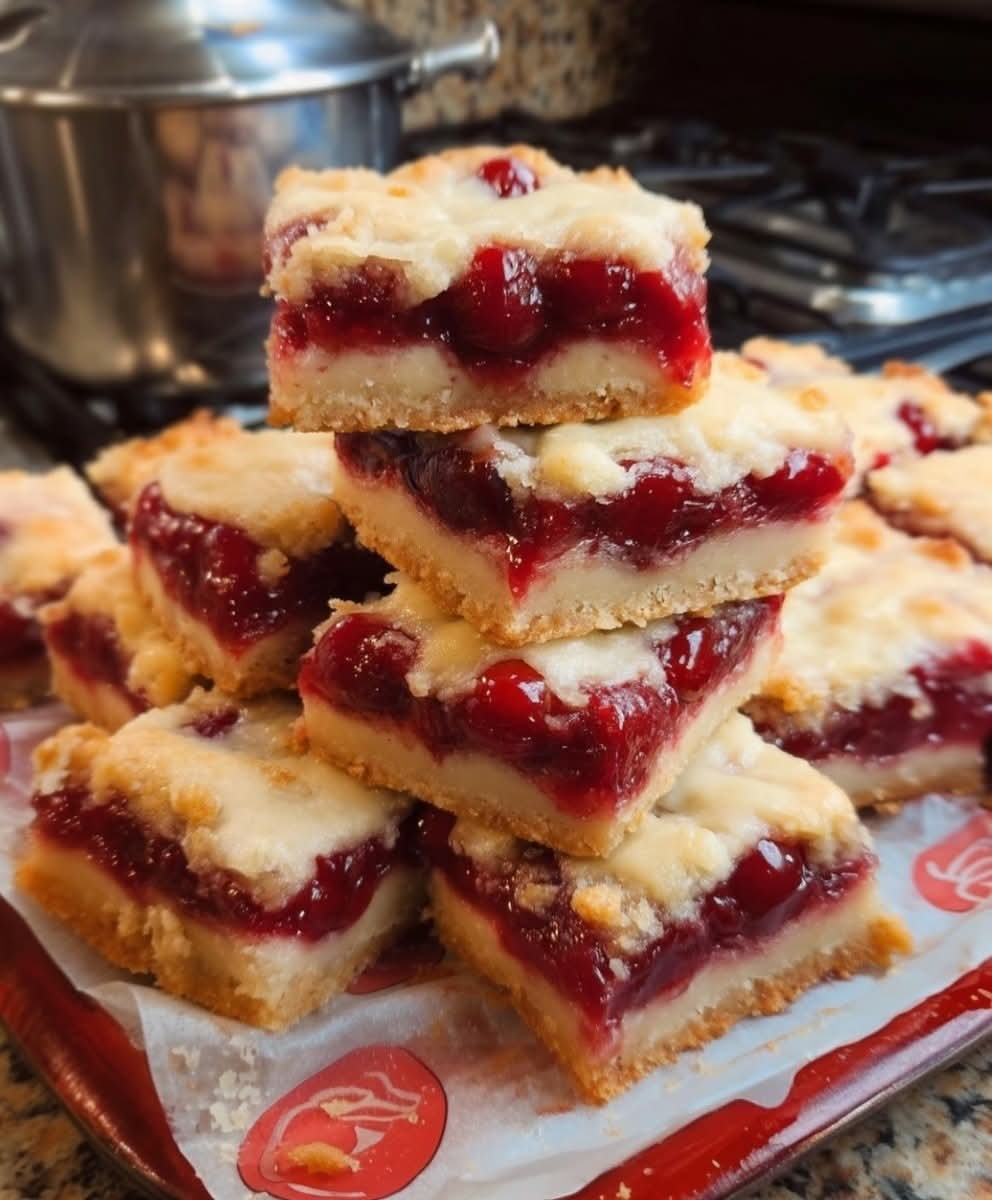
These easy Cherry Crumble Bars are the perfect summer dessert! A buttery oat crumble crust, sweet-tart cherry filling, and crunchy topping. Make-ahead, crowd-pleasing, and perfect for potlucks, picnics, or a simple homemade treat.
There is a special kind of magic in a dessert that tastes like a cherished memory. It’s the flavor of sun-warmed berries, of crumble topping stolen from a cooling pie, of a simple treat that feels like home. Cherry Crumble Bars capture that magic in portable, bar-form perfection. Imagine a buttery, oat-flecked crust pressed into a pan, topped with a vibrant layer of sweet-tart cherry filling, and finished with a generous handful of that irresistible crumble—all baked until golden and fragrant. Each square is a perfect balance of textures: crisp, tender, and jammy, all in one bite.
This recipe is your secret weapon for effortless entertaining and satisfying sweet cravings. It’s a one-bowl wonder for the crumble, uses simple pantry staples, and is forgiving enough for beginner bakers yet impressive enough for any occasion. Whether you’re using jewel-like fresh cherries in July or a jar of cozy cherry preserves in January, these bars are a celebration of flavor that works year-round. They’re the ultimate potluck dessert, a lunchbox surprise, and a make-ahead treat that actually gets better as it sits. Let’s preheat the oven and bake a batch of pure, crumbly joy.
Why This Cherry Crumble Bar Recipe Is a Must-Bake
This recipe earns its place in your permanent collection through its flawless ratio and foolproof method.
· One Mix, Two Uses: The genius lies in the single crumble mixture that serves as both the sturdy crust and the craggy topping. You simply press two-thirds into the pan and sprinkle the rest over the filling. This guarantees perfect flavor harmony and saves time.
· The Filling Flexibility: We celebrate the cherry in all its forms. Use a quick homemade cherry pie filling with fresh or frozen cherries, or grab a quality canned cherry pie filling for a shortcut that doesn’t sacrifice taste. It’s an easy dessert that adapts to your time and the season.
· Textural Symphony: The base bakes into a firm, shortbread-like foundation. The middle layer is all gooey, fruity sweetness. The top remains clumpy and crisp, providing that signature crumble crunch. This trio of textures is what makes every bite irresistible.
· Portable & Shareable Perfection: Unlike a delicate pie, these bars are sturdy. They pack beautifully for picnics, ship well in care packages, and can be sliced and served straight from the pan at a party with no plates needed.
Gathering Your Ingredients: Simple & Sweet
For the Oat Crumble Base & Topping:
· 1 ½ cups (190g) All-Purpose Flour
· 1 ½ cups (150g) Old-Fashioned Rolled Oats (not instant)
· 1 cup (200g) Light Brown Sugar, packed
· ½ teaspoon Baking Soda
· ½ teaspoon Salt
· ¾ cup (1 ½ sticks / 170g) Unsalted Butter, melted and slightly cooled
· 1 teaspoon Pure Vanilla Extract
For the Cherry Filling (Choose One Option):
Option A: Quick Homemade Cherry Filling
· 4 cups pitted fresh or frozen Cherries (thawed if frozen)
· ⅓ cup (67g) Granulated Sugar
· 2 tablespoons Lemon Juice
· 2 tablespoons Cornstarch mixed with 2 tbsp cold water
Option B: Simple Shortcut Filling
· 1 (21 oz) can Cherry Pie Filling
Optional Add-In:
· ½ teaspoon Almond Extract (adds a classic bakery note)
· ½ cup sliced Almonds (add to the topping)
Step-by-Step Instructions: Building Layers of Goodness
Step 1: Prep and Preheat.
Preheat your oven to 350°F(175°C). Line an 8×8 or 9×9-inch square baking pan with parchment paper, leaving an overhang on two sides for easy removal. This is a non-negotiable step for clean bars.
Step 2: Make the Universal Crumble.
In a large bowl,whisk together the flour, oats, brown sugar, baking soda, and salt. Pour the melted, cooled butter and vanilla over the dry ingredients. Stir with a fork or spatula until the mixture is evenly moistened and crumbly.
Step 3: Prepare the Filling.
· For Homemade: In a saucepan, combine cherries, sugar, and lemon juice. Cook over medium heat for 5 minutes until juicy. Stir the cornstarch slurry and add to the pan. Cook, stirring, for 2-3 more minutes until thick and glossy. Remove from heat and stir in almond extract (if using). Let cool slightly.
· For Shortcut: Simply stir the almond extract (if using) directly into the canned pie filling.
Step 4: Layer the Bars.
Press abouttwo-thirds of the crumble mixture firmly and evenly into the bottom of your prepared pan to form the crust. Spread the cherry filling evenly over the crust, leaving a small border. Sprinkle the remaining crumble mixture evenly over the cherry layer. Do not press down.
Step 5: Bake to Golden Perfection.
Bake for 35-45 minutes(9-inch pan will be closer to 35 min; 8-inch may need 40-45 min), until the topping is a deep golden brown and the filling is bubbly at the edges.
Step 6: The Crucial Cool.
This is the hardest but most important step.Place the pan on a wire rack and let the bars cool completely—at least 2 hours—before slicing. This allows the filling to set, ensuring you get clean, neat squares and not a delicious, fruity mess.
Step 7: Slice and Serve.
Use the parchment overhang to lift the entire slab from the pan.Transfer to a cutting board and slice into squares with a sharp knife. Dust with powdered sugar if desired.
Serving Suggestions: Enjoy Your Handheld Treat
· The Simple Classic: Perfect with a cup of coffee or tea.
· À la Mode: Serve a warm square with a scoop of vanilla ice cream or a dollop of whipped cream.
· Brunch Brilliant: Pair with yogurt and fresh fruit for a decadent brunch item.
· Gift Giving: Stack in a cellophane bag tied with a ribbon for a thoughtful homemade gift.
Pro Tips, Variations & Troubleshooting for Bar Success
· The Cool Butter Trick: Ensure your melted butter has cooled for a few minutes. Adding it hot can “cook” the flour and oats, leading to a greasy crust.
· Press Firmly: A well-compacted base is key to bars that hold together. Use the bottom of a measuring cup to press it down firmly and evenly.
· Customize Your Fruit: This recipe is a blueprint! Swap the cherry filling for blueberry, apple, peach, or raspberry. Adjust sugar in homemade fillings based on fruit sweetness.
· Make it Gluten-Free: Use a 1:1 gluten-free flour blend and certified gluten-free oats.
· For Extra Crisp Topping: Spread the reserved crumble for the topping on a small baking sheet and toast it for 8-10 minutes while the bars bake. Sprinkle it over the hot filling right when the bars come out of the oven.
· Storage: Store in an airtight container at room temperature for 2 days, or in the refrigerator for up to 5 days. They freeze beautifully for up to 3 months. Thaw overnight in the fridge.
Frequently Asked Questions (FAQ)
Q: Can I use quick oats instead of old-fashioned?
A:Old-fashioned rolled oats provide the best texture. Quick oats are cut smaller and will absorb more moisture, potentially making the bars denser and less crisp.
Q: My filling is too runny. What happened?
A:If using homemade, the filling may not have been cooked with the cornstarch long enough to fully thicken. It will continue to set as the bars cool. For next time, cook until the mixture is visibly thick and coats the back of a spoon.
Q: Can I double this recipe?
A:Absolutely! Double all ingredients and bake in a 9×13-inch pan. The baking time may increase by 5-10 minutes; watch for the golden brown topping and bubbling edges.
Q: Are these the same as cherry cheesecake bars?
A:No, these are crumble bars with an oat base and topping. Cheesecake bars have a creamy cheese layer. Both are delicious, but this is a simpler, fruit-forward option.
Q: Can I use fresh sour cherries?
A:Yes! Sour cherries are fantastic. You will likely need to increase the sugar in a homemade filling by 2-4 tablespoons. Taste as you cook.
Conclusion: The Bar That Brings Everyone Together
Cherry Crumble Bars are more than a dessert; they’re a gesture. A gesture of sharing, of simplicity, and of taking the time to create something sweet for yourself and others. They prove that the most beloved treats often come from the humblest ingredients and the simplest techniques.
So, whether you’re baking for a crowd, stocking the freezer, or simply answering a midnight craving, remember this recipe. It’s a reliable, delicious, and endlessly adaptable friend in your baking repertoire. Now, go grab that pan and get ready for the compliments to roll in.
We know you’ll love these bars! Share your beautiful crumble creations with us by tagging #CherryCrumbleBars. For more easy bar recipes and fruit dessert ideas, explore our full collection. Happy baking
More Recipes You Might Like
-

Cheesy Potato Patties 😋 – Crispy, Golden, and Irresistibly Cheesy If you’re looking for a high-RPM comfort food recipe that gets clicks, saves, and repeat cooks, Cheesy Potato Patties are a guaranteed winner. Crispy on the outside, soft and fluffy on the inside, and loaded with melty cheese—this recipe checks every box readers love: easy…
-

Brown Sugar Pineapple Ham Bake 😋 – The Ultimate Sweet & Savory Comfort Dish If you’re searching for a high-RPM, comfort-food recipe that people love clicking, saving, and cooking again and again, this Brown Sugar Pineapple Ham Bake is it. Sweet, sticky brown sugar. Juicy pineapple. Tender, savory ham. Baked together into one irresistible dish…
-

Angel Chicken Pasta – The Creamy Comfort Food That Everyone Loves
Few dishes feel as comforting, indulgent, and crowd-pleasing as Angel Chicken Pasta. This creamy, slow-cooked chicken pasta recipe has earned its name because it’s truly heavenly—rich, velvety sauce, tender chicken, and perfectly cooked pasta all coming together in one unforgettable meal. Angel Chicken Pasta is one of those recipes that never goes out of style.…